
As a manager, tracking how your team spends time is more than just monitoring employee contributions, collecting timesheets and making sure everyone is putting in the right amount of work. Having data about how your team has spent their time can actually unlock insights and ultimately lead to better decision-making. Time tracking data can help answer complex questions like:
- Which clients or projects get the most attention?
- Are we charging enough for our services based on the effort it takes us?
- Is there an inefficient step in my plan, that always takes longer than I’ve estimated?
In this guide, we’re telling you everything you need to know to start tracking how your team spends time, right within the Hive dashboard. The good news is that Hive has time-tracking capabilities that fit all kinds of team structures. So whether your team prefers to record time for each action card as it’s being worked on, or submit timesheets at the end of each week, there’s a solution in Hive. Let’s get started!
Note: It’s preferable that you’re starting with your projects already created & entered in Hive, so check out one of our other Workflow guides if you haven’t completed that step yet!
Step 1: Decide if you’ll submit timesheets or not ⏱️ ✅
Of the following two scenarios, which most closely aligns with what you need? Your answer will determine how to move forward with the overall time-tracking process in Hive.
Option 1: Recording time directly on action cards, not on timesheets.
This is the quickest and easiest path to seeing how your team spends its time. With this method, your team will track time directly on each action card, without submitting a timesheet for approval each week. So how does this work? Let’s look at an example.
Let’s say you have created tasks for each deliverable in the client project. As your designer, when Jane works on the Website Design, they click a Start timer and record the time they spent on this task throughout the course of a week (or manually add the time to the card). The time is logged and now visible to you in Time Tracking reporting. At any point on demand, you can view all the time Jane spent both in total for a certain time period, and on this project or task specifically.
In this case, just know that Jane doesn’t submit the time for approval, nor do they necessarily ensure all 40 hours of their week is attributed to a project or activity. Here’s an idea of what that looks like:
![]()
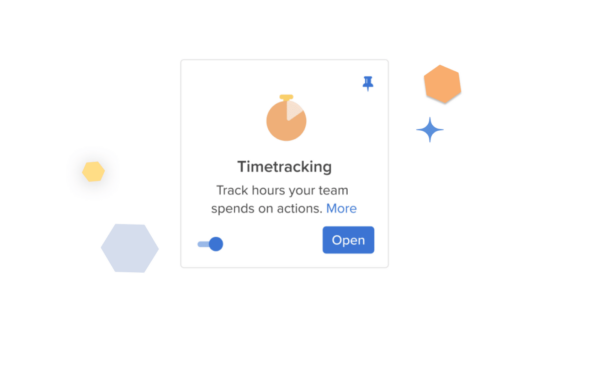
If you prefer this method, simply toggle on Time Tracking in Hive Apps. This will add the Time Entry section on each action card. With this structure, you don’t need to worry about the remaining steps. You can get started from here!
Option 2: Timesheets all the way! A weekly submission & approval is a must at your company.
Great choice. In this case, you have your project plans, people have their assigned action cards, and they are completing work throughout the week. At the end of the week, Jane goes to her Hive Timesheet and enters the time she worked on each day of the week for each project. She was out on Thursday, so she enters a full 8 hours to PTO. She submits once she’s filled up the full 40 hours. As her manager (or the project owner), you review her timesheet and approve it. Now the time is recorded!
Here’s how a timesheet entry looks to Jane:
Step 2: Select your Approver
Now it’s time to think about who typically approves the time for your team? Is it the manager who signs off on what their direct reports are doing, or is it the owner of the project who signs off that time spent on their project is okay?
If the Manager approves their report’s time, then you’ll want your projects to have that setting enabled (on the Edit Project screen).
And, you want to make sure each person has a manager set! Each person should set their manager from the My Profile > Edit Profile screen. If they haven’t selected a manager, they will be prompted to upon submitting their first timesheet.
If the Project Owner should approve time, you don’t have to make any changes. This is the default for all new projects created in the workspace, so no action is necessary.
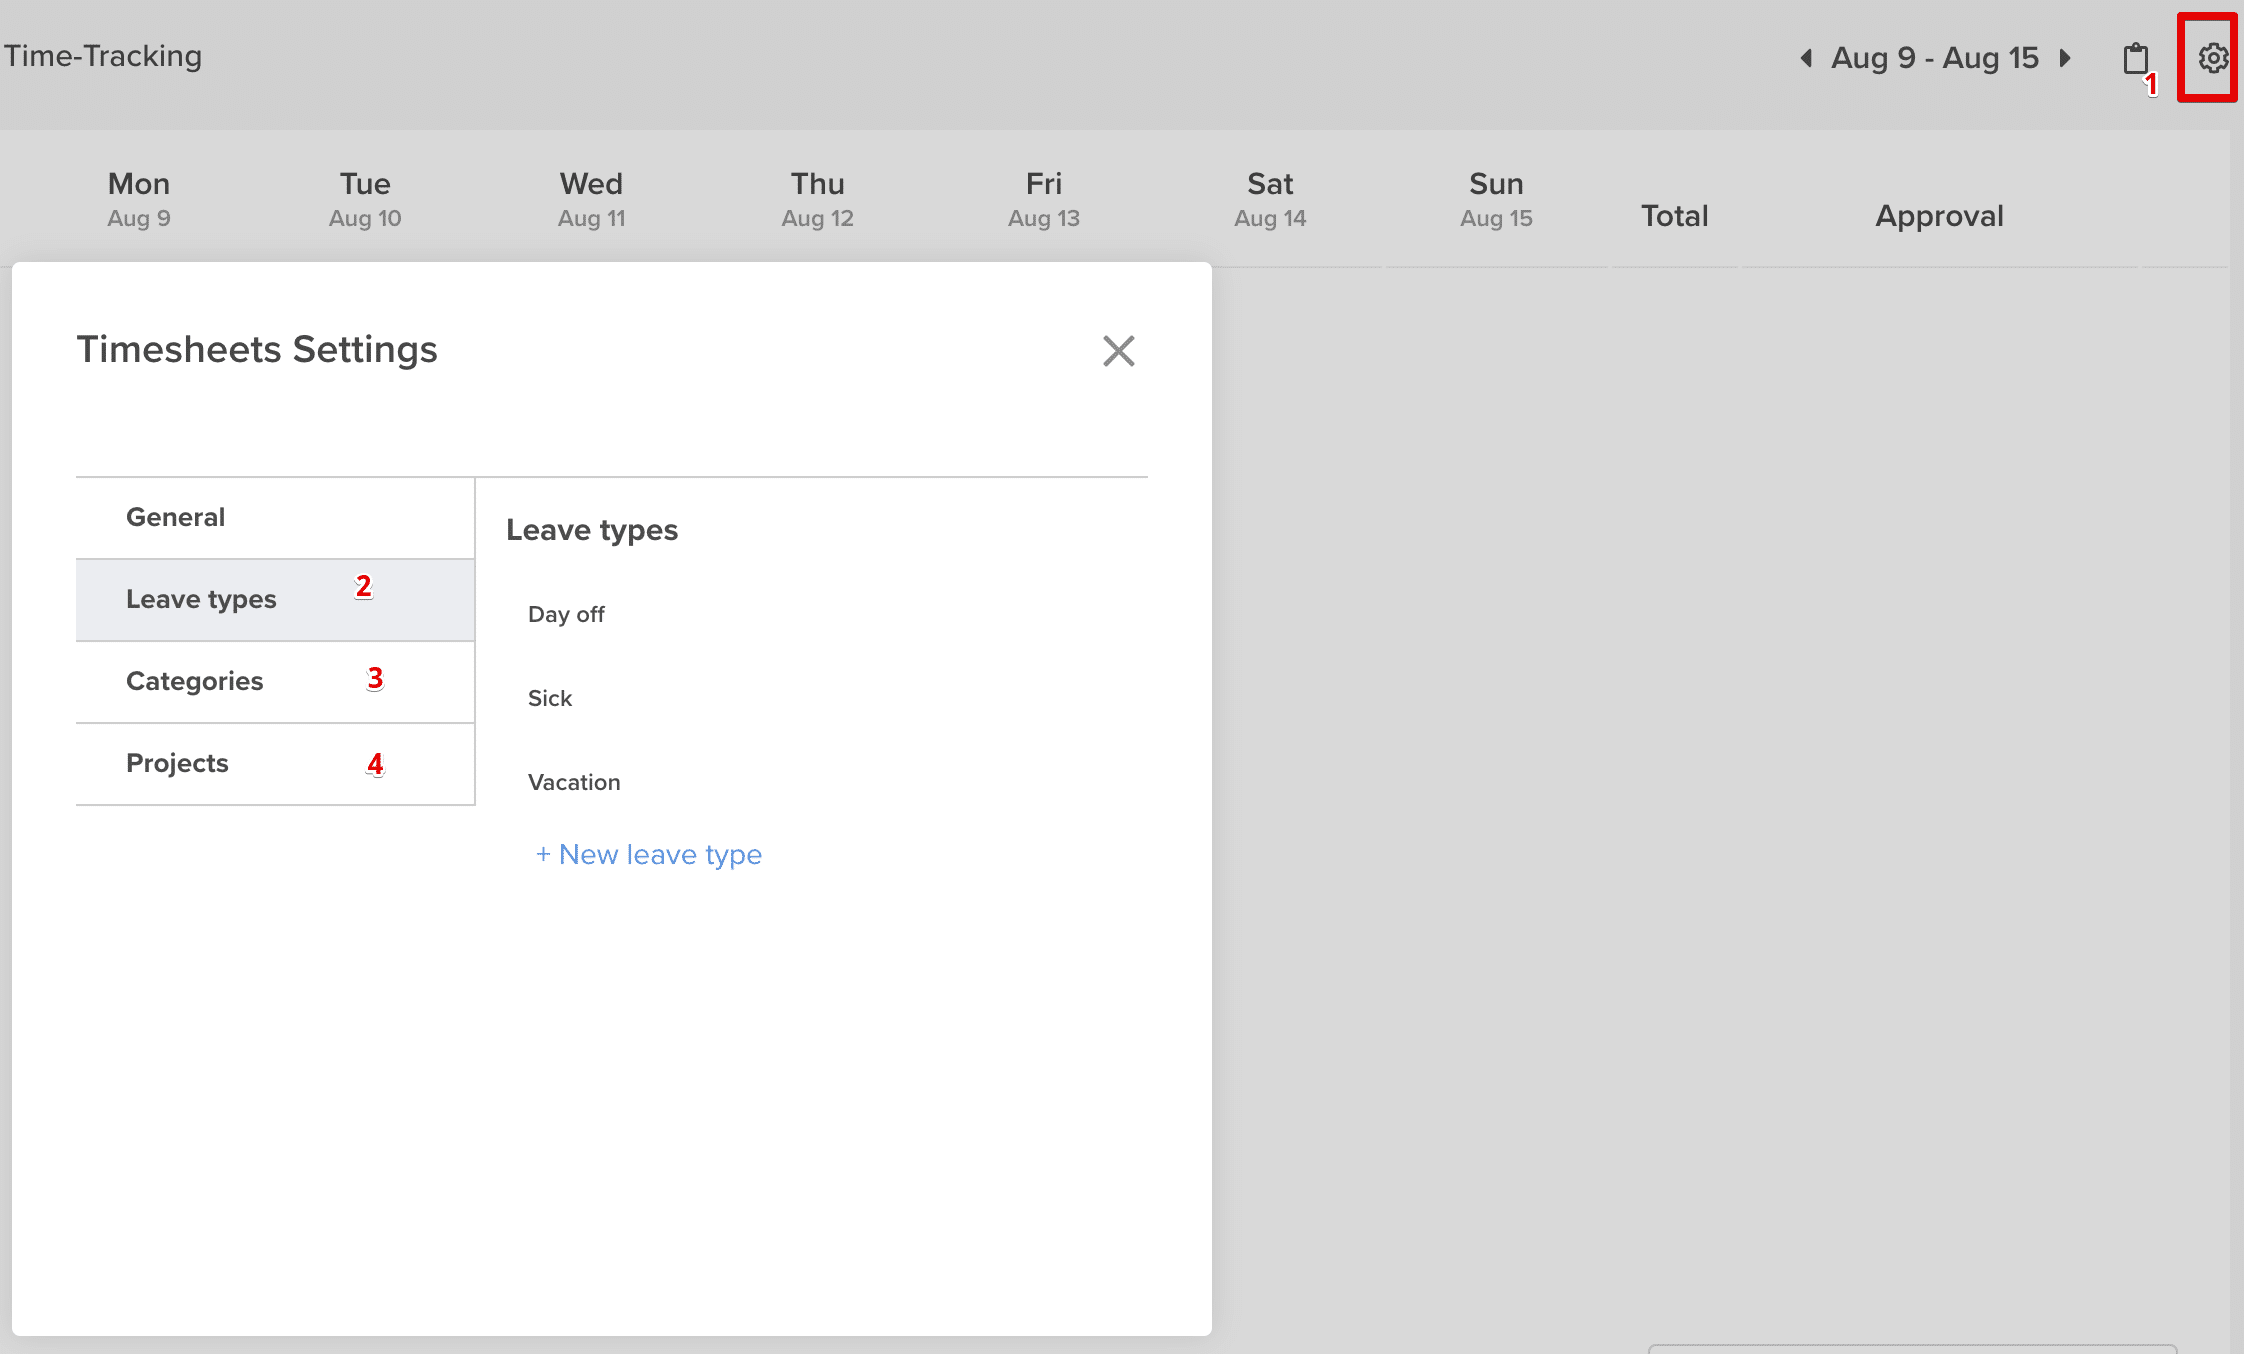
Step 3: Configure Admin settings
As the workspace admin, you can control the settings of Timesheets and manage the time entries of your workspace’s users. Here’s how you can gain more insight into time entries as an admin:
- General Timesheet Settings: Toggling on “Pre-fill allocated hours” allows users to pre-fill their timesheets with hours that have been allocated to them. Toggling on “Automatically lock timesheets” will prevent users from entering time in the past.
- Create Leave Types: This lets users book time for things like Sick Time, PTO, Parental Leave, or other time away that is not work for a project. This is only available for time tracked in timesheets.
- Create Time Categories: Time categories are used to classify time entry in Hive. Some examples include Billable, Non-Billable, Content, and Design. With each time entry, users have an option to enter the time against ‘No Category’ or a specific category you create.
- Filter by project: Select only certain projects to appear in Timesheets.
You can access all Timesheet settings using the gear icon in the upper right corner of the Timesheets app. For more information on these configurations, visit our guide to Timesheets for Admins.
Step 4: Review your first week of Time Reporting
After a week has passed, it’s time to review the time logged by your team. Even more importantly, it’s time to see how your team is tracking against project timelines and budgets. That’s where Timesheet Reporting comes into play. With Hive’s Timesheet Reporting capabilities, you can analyze timesheet data over time to better manage your project budgets.
To make the most of Reporting, you should add as much data on Users & Projects as possible. Here are some key elements that will help you gain even further insights from your reporting:
- Role: this should be the user roles like their job titles
- User Tag: create these more general categories, such as Managers/Leaders, Ops/Reporting, or Non Managers
- Project Tags: Used for any information that is tagged to the project as a whole, rather than individual actions
- Filtering time submitted
- Exporting time submitted
For calculations of the time logged, you can add a project budget to the Project Overview page (or through Timesheet Reporting). This is available here, in the “Overview” button in the top right corner.
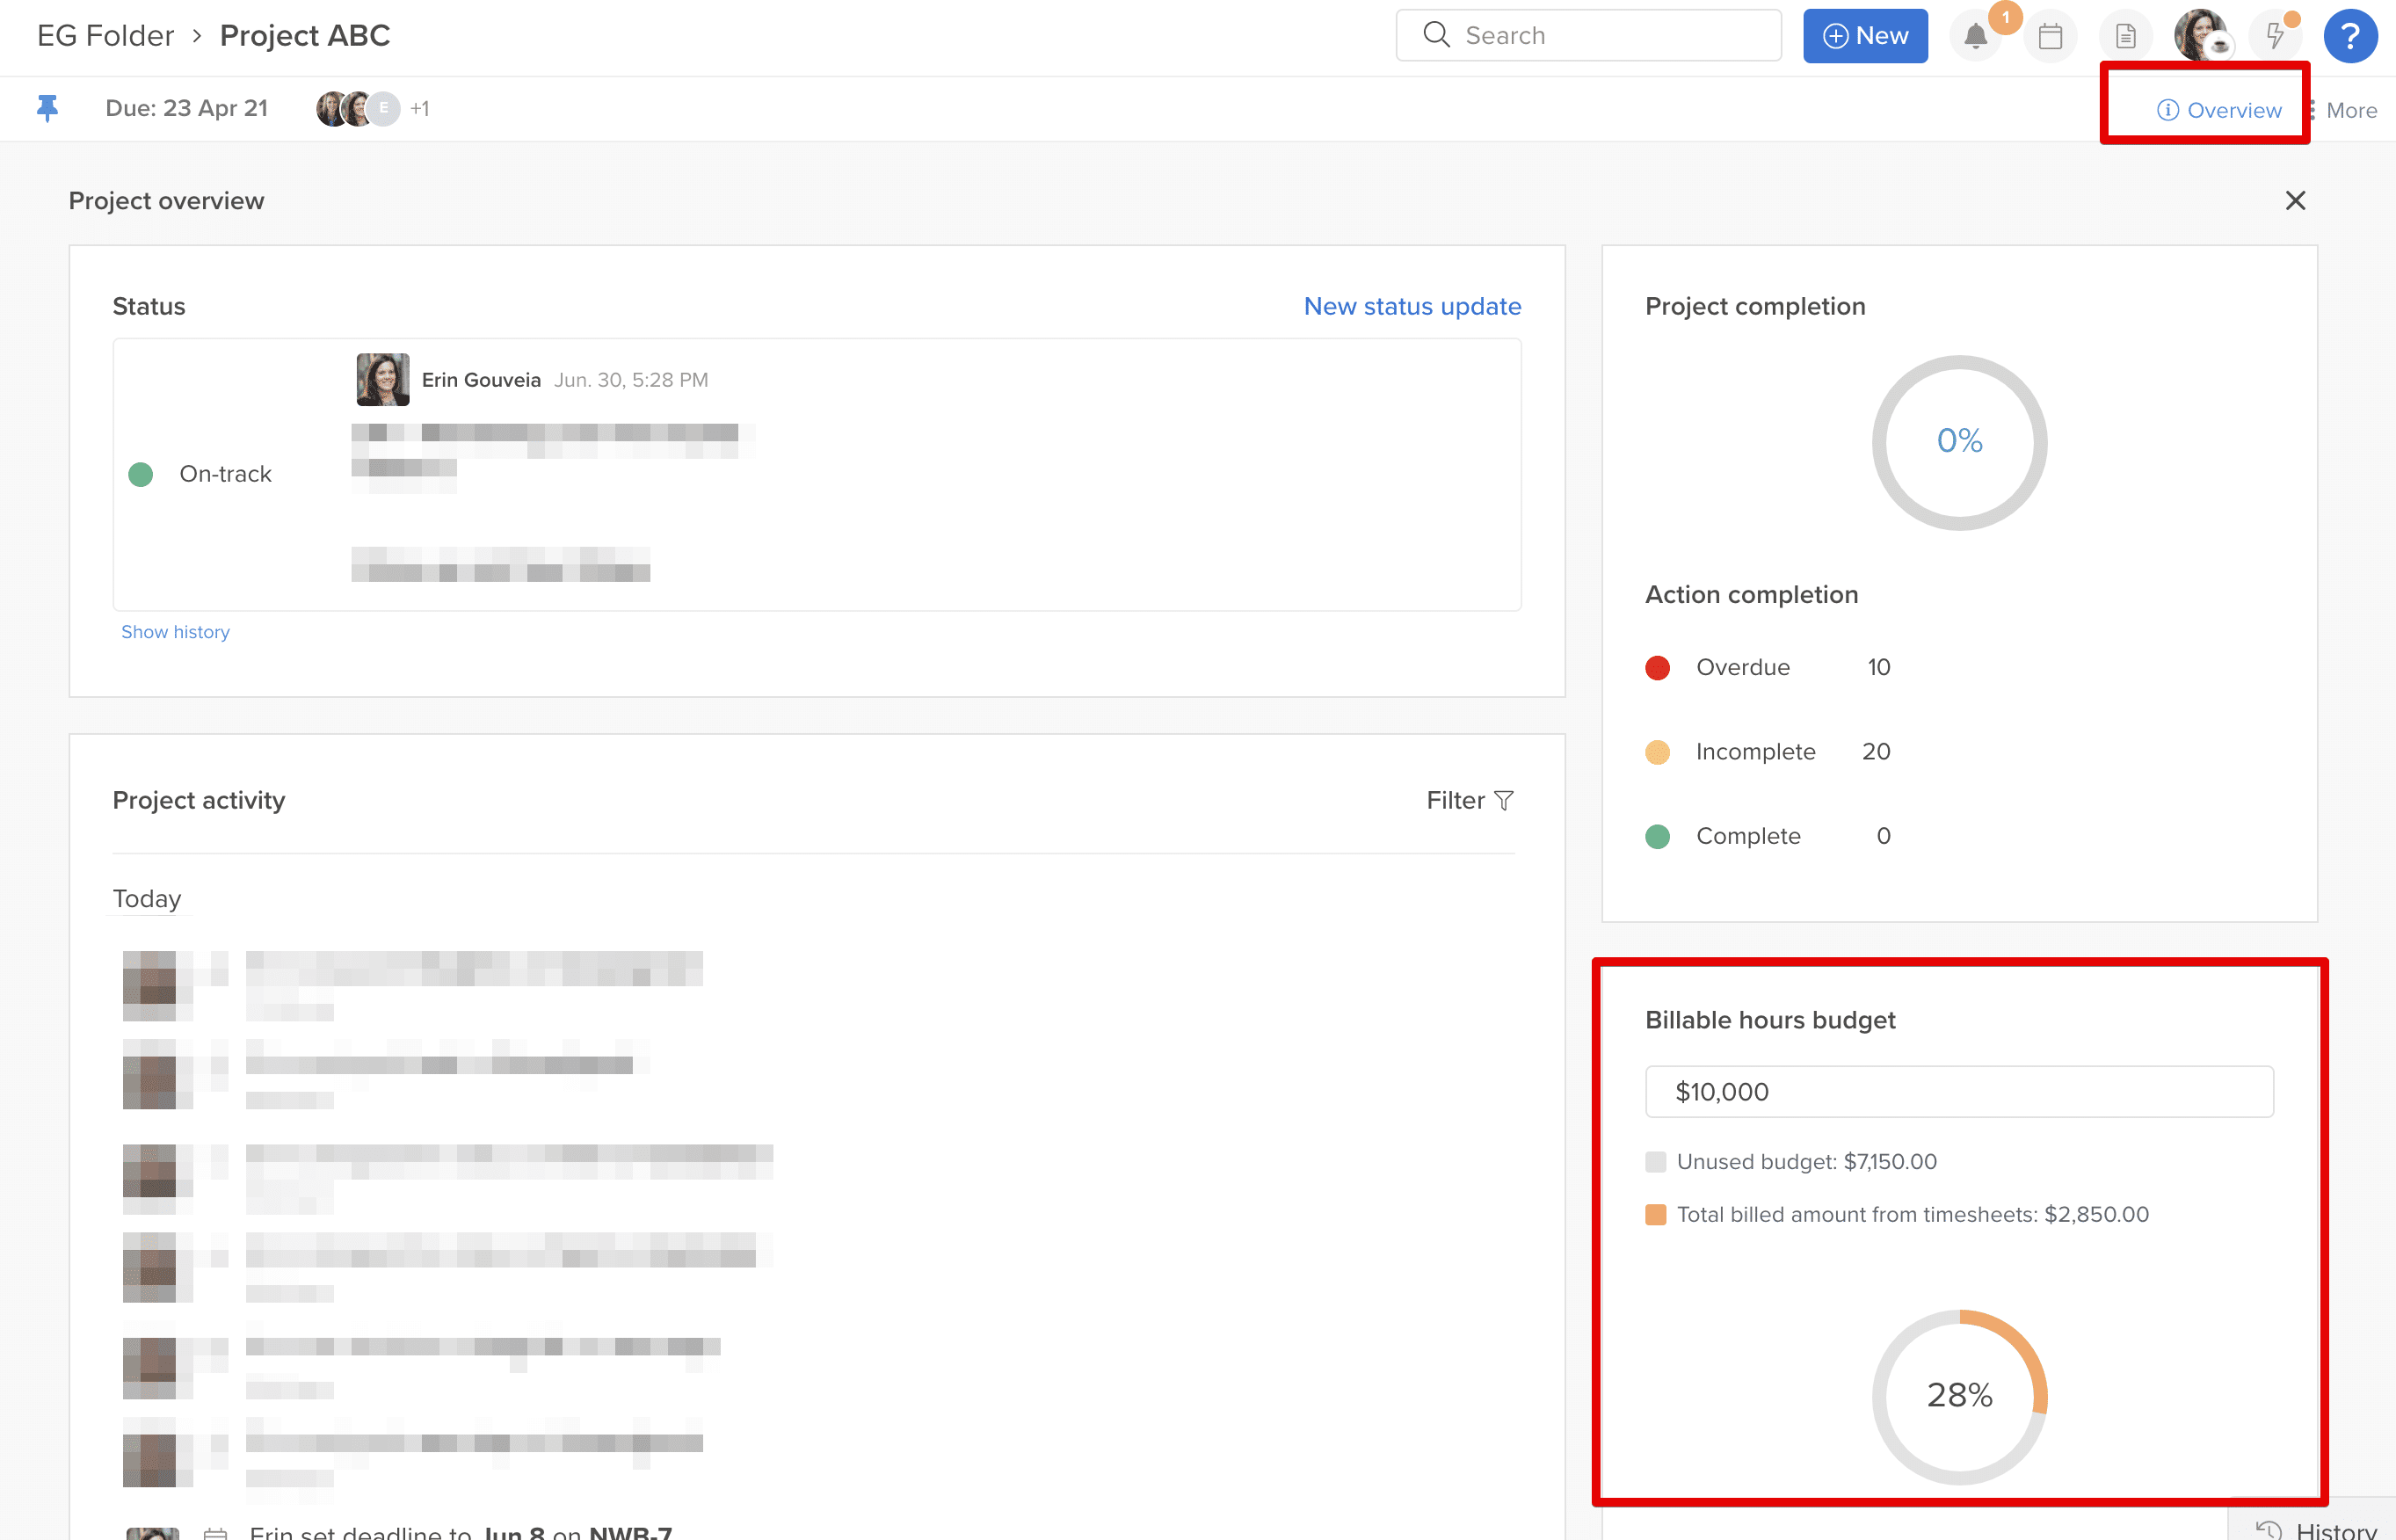
For further calculations, you can also add bill rates to user profiles if needed.
If you’re concerned about visibility, don’t worry — these reports aren’t visible to everyone on your team. By default, timesheets are routed to Project Owners. This means Project Owners, in addition to Managers and Workspace Admins, can view the time data in Reporting. If you edit the project to route to Managers instead, this means only Managers and Workspace Admins can view the time data in reporting. To set or adjust managers, edit the user’s profile in Resourcing.
Step 5: Getting your team on board
Tracking time is insightful, but only if everyone on your team is logging time properly. Now that you’ve decided how you will track your time (either in action cards or in timesheets) and created additional data configurations for reporting, it’s time to get the rest of your team on board. Be sure to inform everyone of your time-tracking plan and make sure expectations are understood. So don’t waste any more time — use this guide to get started in Hive today. You’re on the clock!